India Visa From Canada 2026: A Complete Guide to Types, Requirements And Online Process
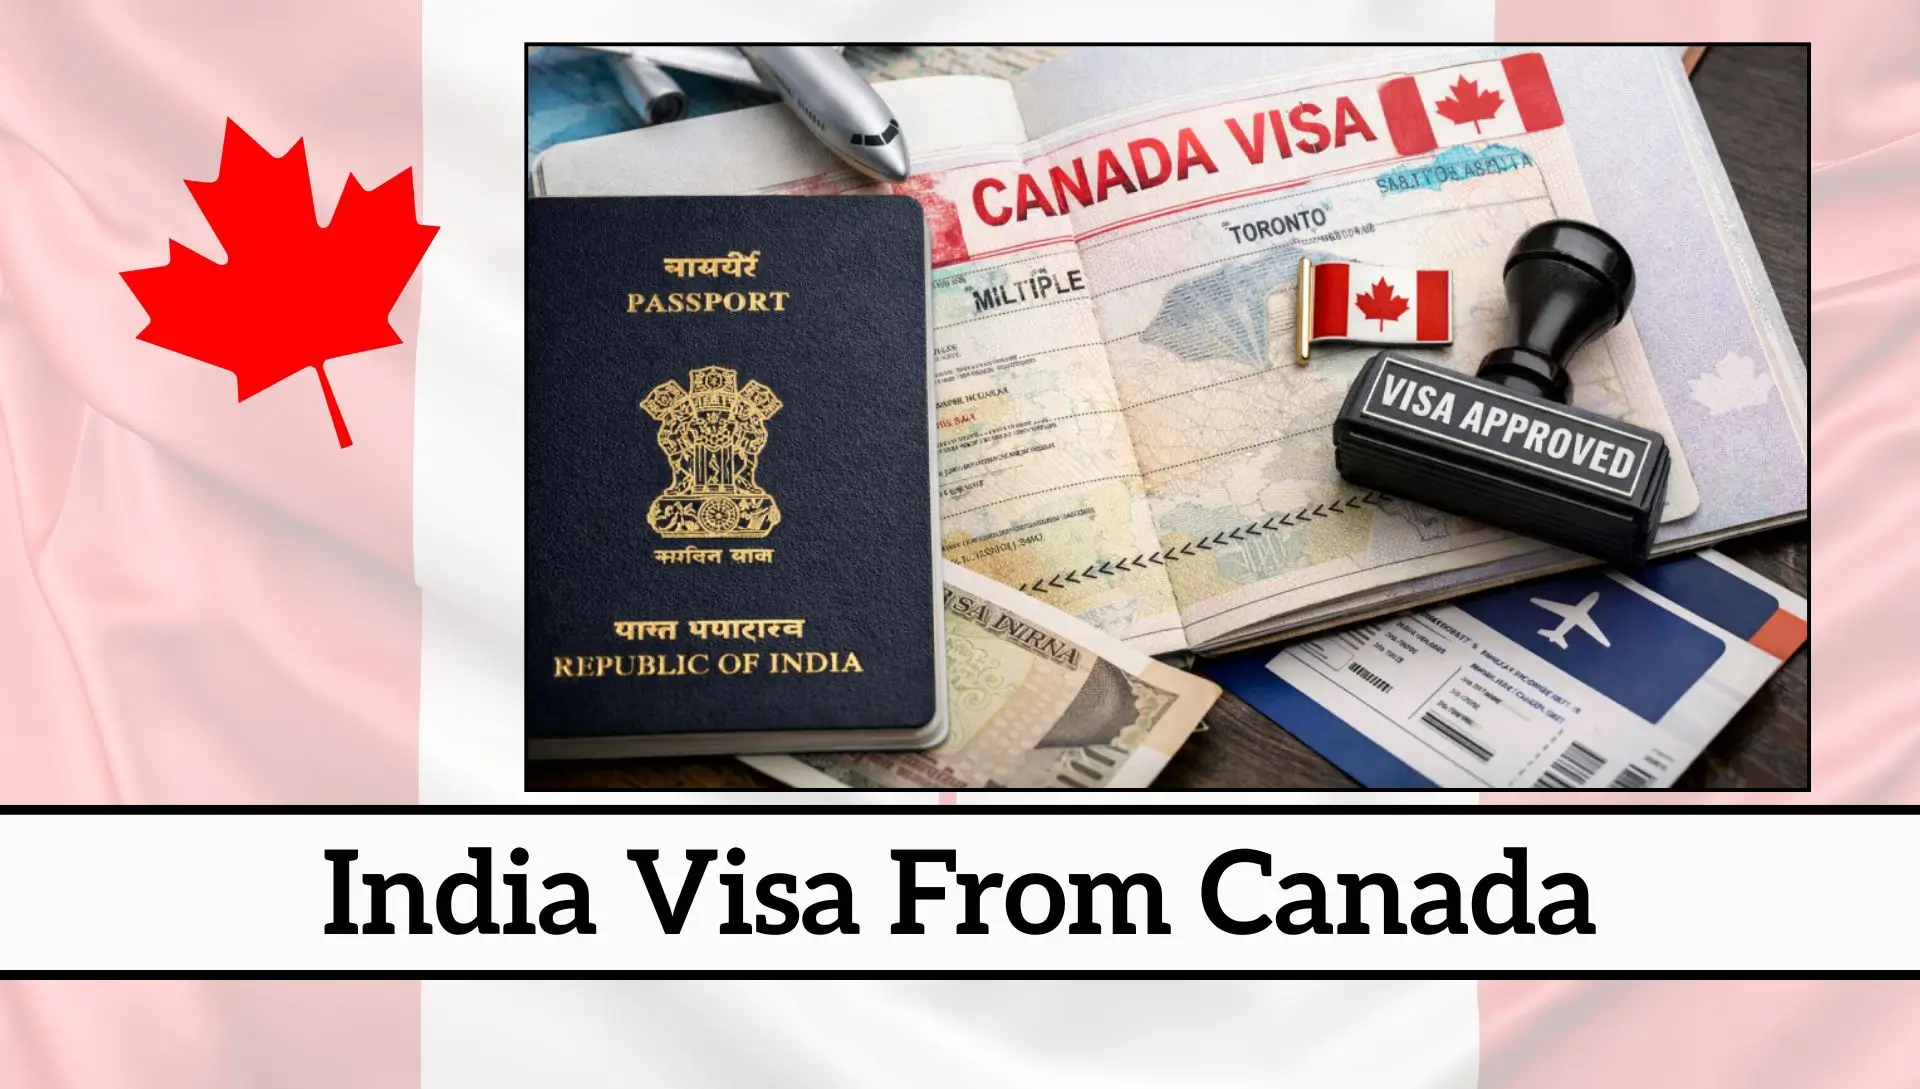
India Visa From Canada 2026. Planning to travel from Canada to India is exciting, but before booking your ticket, you must get a valid India visa. Many people feel confused at this stage. They don’t know which visa to choose, how to apply, what documents are needed, or how long the process takes.
This guide covers everything in one place. You will learn about all visa types, the e-Visa and paper visa process, required documents, fees, and important rules for Canadian applicants. Each step is explained in simple and clear words, so you can understand easily and avoid mistakes.
Think of this as your roadmap. From choosing the right visa to entering India smoothly, everything is explained so you can apply with confidence and no stress.
What is an India Visa?
An India visa is an official permission that allows foreign nationals to enter India for a specific purpose. Without a valid visa, you cannot enter India (except OCI cardholders).
People from Canada must apply for a visa before traveling to India.
Do Canadian Citizens Need a Visa for India?
Yes. If you are a Canadian citizen, you must apply for a visa before traveling.
Exception: If you have an OCI card (Overseas Citizen of India), then you don’t need a visa.
Visa Type
This is the most important step. If you choose the wrong visa, your application can r students who want to study in India.
1. Tourist Visa
- For sightseeing, recreation, or visiting friends and relatives.
- Non-extendable and non-convertible.
- Available for durations of 6 months, 1 year, or up to 10 years for Canadian citizens.
2. Business Visa
- For attending meetings, business ventures, or commercial negotiations.
- Validity depends on the business activity and supporting documents.
3. Employment Visa
- For individuals employed by an Indian organization.
- Valid for the term of the employment contract.
4. Student Visa
- For regular studies at recognized Indian institutions.
- Usually issued for the duration of the academic program.
5. Medical Visa
- For patients seeking medical treatment in India.
- Can be issued to accompanying attendants.
6. Conference Visa
- For attending seminars, workshops, or conferences organized by Indian authorities, UN, or recognized institutions.
7. Journalist Visa
- For professional journalists, photographers, documentary filmmakers, and travel writers.
- Not eligible for e-Visa; paper visa required.
8. Research Visa
- For academic research work in India.
9. Entry Visa
- For persons of Indian origin or dependents of foreigners holding long-term visas.
10. Transit Visa
- For travelers passing through India to reach another destination.
11. E-Visa
- Online application without submitting hard copies.
- Categories: e-Tourist, e-Business, e-Conference, e-Medical, e-Medical Attendant, e-Ayush, e-Ayush Attendant.
- Approved online; visa grant confirmation can be presented at the airport.
Note: Journalists visiting for tourism or conferences are not eligible for e-Visa and must apply for a paper visa.
Step-by-Step E-Visa Process
Now we go step by step. Follow like a checklist.
Step 1: Fill Online Application
Go to the official website: https://indianvisaonline.gov.in/
Now do this:
- Enter your full name (same as passport)
- Enter passport number
- Enter travel details
Upload:
- Your photo
- Passport copy
Tip: Photo should be clear. No blur.
Step 2: Pay Visa Fee
You can pay using:
- Debit card
- Credit card
- Online wallet
Example: Like paying electricity bill online.
Step 3: Get ETA on Email
After some time, you will receive an email. This is called ETA (Electronic Travel Authorization).
Simple meaning: Your entry permission is approved.
Step 4: Travel to India
Before traveling:
- Print your ETA
- Keep passport ready
At airport:
- Show ETA
- Officer will stamp visa
Paper Visa Process (If Required)
Some people cannot use e-Visa. Then they follow this method.
Step 1: Fill Online Form
Fill carefully.
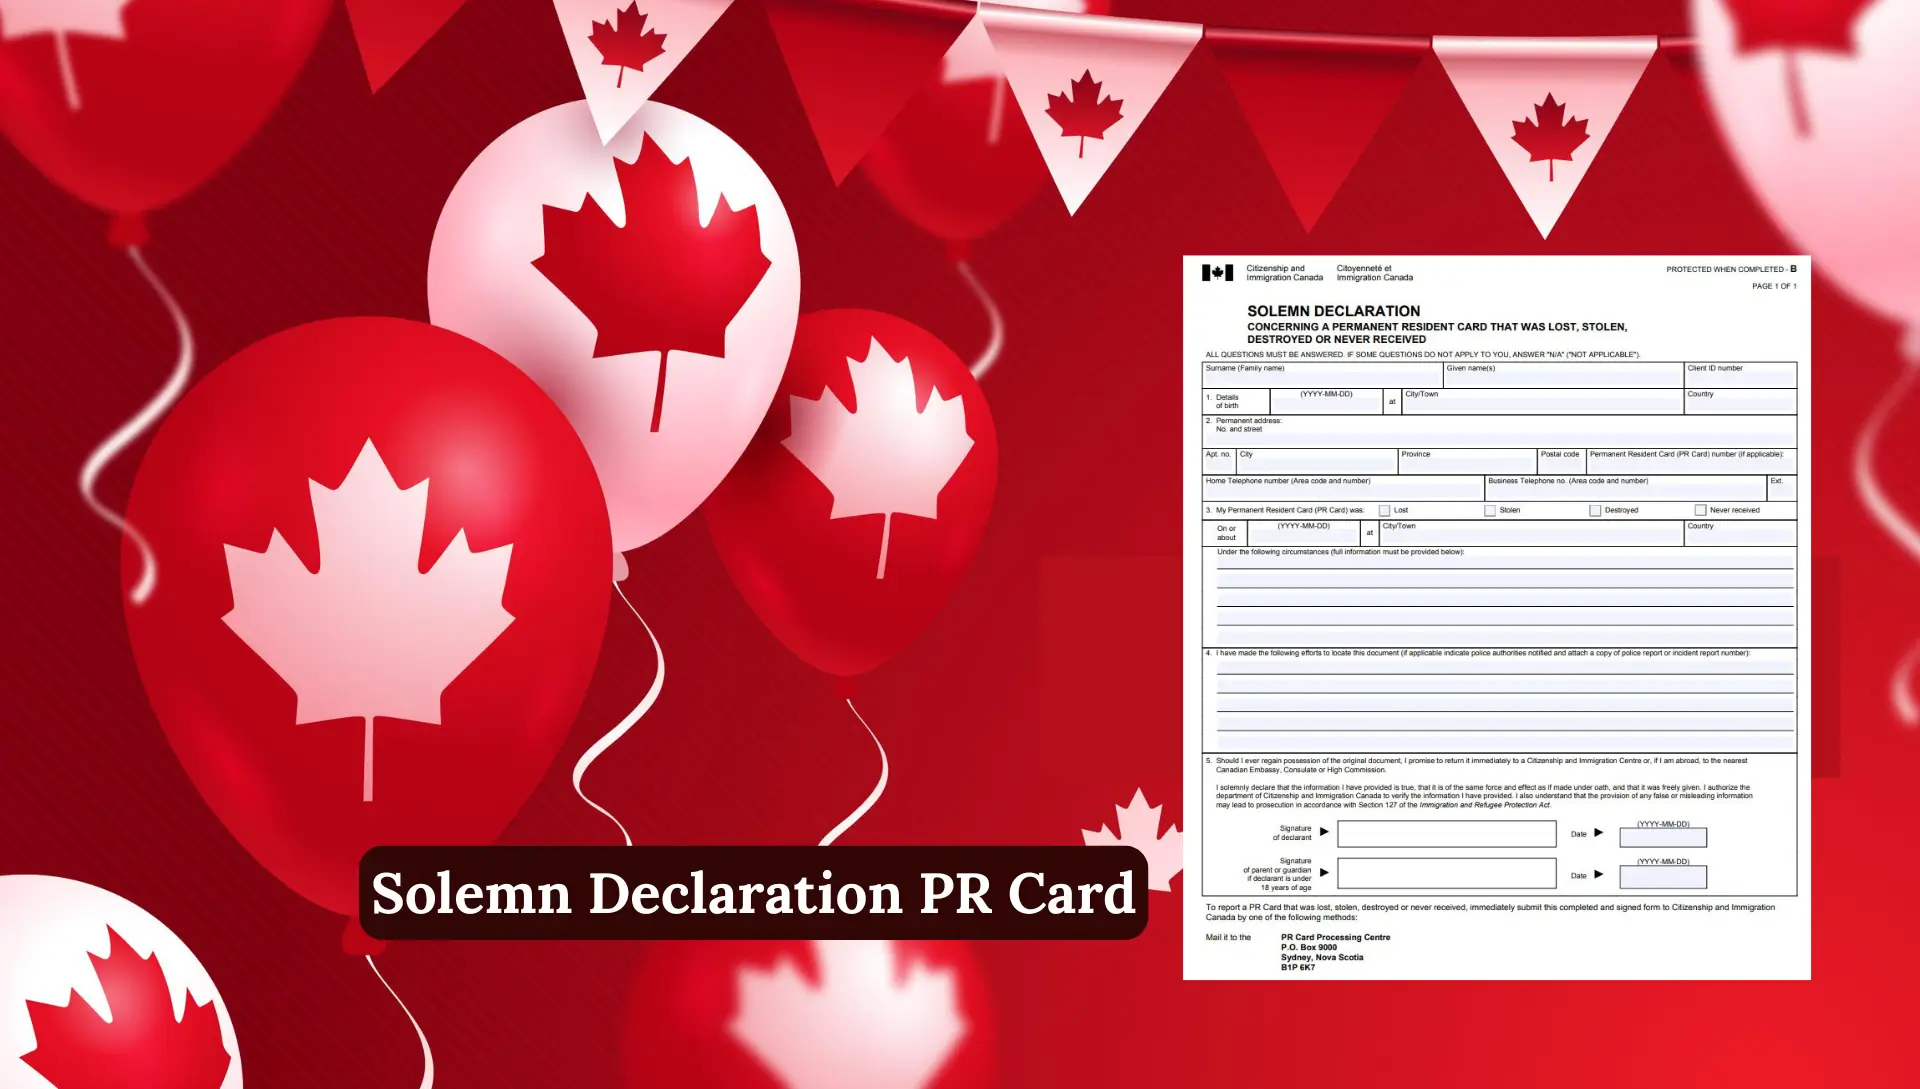
Important: All fields must be filled.
Step 2: Visit BLS Center
You must:
- Submit documents
- Pay fee
- Give biometrics
Biometrics means:
- Fingerprints
- Photo
Step 3: Wait for Processing
Your visa will be checked.
Step 4: Get Passport by Courier
Passport will come to your home.
Important: You cannot collect it manually.
Documents Required
Before applying, prepare:
- Passport (valid)
- Photo
- Application form
- Payment proof
- Extra documents (depends on visa)
Passport Rules (Don’t Ignore This)
Your passport must:
- Have 2 blank pages
- Be valid for 190+ days
Important: If less than 180 days at entry, you can be stopped.
Biometrics Rule
Biometrics means:
- Fingerprints
- Photo scan
👉 Rule:
- Age 12 to 70 → must give biometrics
- Below 12 or above 70 → sometimes not required
Important Rules (Very Important Section)
Read this slowly.
1. Visa is Not Guaranteed
Application accepted does not mean visa approved.
2. Don’t Book Ticket Early
First get visa. Then book ticket.
3. Visa Start Date
Visa starts from issue date.
4. No Change of Visa Type
Example: Tourist visa cannot become work visa.
5. Stay More Than 180 Days
You must register at FRRO.
6. Interview May Happen
Sometimes embassy may call you.
7. Satellite Phones Not Allowed
Devices like:
- Iridium
- Thuraya
Are banned.
Who Can Apply for Tourist Visa?
People who want to:
- Travel
- Visit family
- Explore India
👉 Not allowed:
- Job
- Business work
Canada Application Centers (Where to Apply)
Different areas have different centers.
Toronto Jurisdiction
- Ontario (except postal codes starting with K)
- Quebec (except postal codes starting with J, H, K)
- Manitoba, New Brunswick, Nova Scotia, Prince Edward Island, Newfoundland, Labrador
Ottawa Jurisdiction
- Ottawa-Hull, Ontario (postal code K)
- Montreal, Quebec (postal codes J, H, K)
- Kingston, Cornwall, Hawkesbury, Arnprior, Renfrew, Perth, Prescott, Brockville, Carleton Place, Smith’s Falls, Morrisburg
- Nunavut Territories
Vancouver Area
Covers:
- Alberta
- British Columbia
Visa Validity for Canadians
Good news: You can get:
- 5-year visa
- 10-year visa
Processing Time
- e-Visa → 3 to 5 days
- Paper visa → 7 to 15 days
Common Mistakes (Avoid These)
Many people face problems because of small mistakes. Let’s understand them so you can avoid them.
Avoid:
- Entering wrong name or passport details can cause rejection.
- Uploading blurry photo or documents can delay your visa.
- Choosing the wrong visa type can lead to problems.
- Booking tickets before approval can cause money loss.
- Leaving form fields empty can make your application invalid.
- Not checking passport validity can stop you at entry.
- Rushing the application without checking can create errors.
Benefits of E-Visa
Getting an India visa has many simple benefits if you follow the right process.
- You can apply online from home without visiting any office.
- The process is fast and usually takes only a few days.
- You can choose different visa types based on your purpose.
- Canadians can get long-term visas like 5 or 10 years.
- You receive updates and status through email easily.
- The system is simple and user friendly for beginners.
When NOT to Use E-Visa
- Journalist
- Long stay
- Special cases
Tips for a Smooth Visa Application
- Always double-check the documents and application form before submission.
- Keep digital copies of all documents.
- Ensure your passport meets the validity and blank page requirements.
- Use the official websites for application: Indian Visa Online and BLS India Canada
- Track your application status using courier tracking if submitted via Purolator.
- For e-Visa applicants, ensure your email is active and able to receive ETA.
FAQs
Do Canadian citizens need a visa for India?
Yes, all Canadian citizens must have a valid visa before traveling to India. The only exception is people who hold an OCI card, as they can enter India without a visa. For everyone else, applying for the correct visa type is necessary before booking travel.
What is an e-Visa and how does it work?
An e-Visa is an online visa system that allows you to apply from home without visiting any office. You fill out the form, upload your documents, pay the fee, and then receive your ETA by email. This ETA acts as your travel approval, which you show at the airport in India.
How long does it take to get an India visa from Canada?
The processing time depends on the visa type. An e-Visa usually takes around 3 to 5 working days, while a paper visa can take 7 to 15 days or sometimes longer. It is always better to apply early to avoid any last-minute stress.
Can I work in India on a tourist visa?
No, a tourist visa is only for travel, sightseeing, or visiting family and friends. You are not allowed to do any job or business work on this visa. If you want to work, you must apply for an employment visa.
What documents are required for the visa application?
You need a valid passport, a recent passport-size photo, a completed application form, and payment proof. Depending on your visa type, you may also need extra documents, like an invitation letter or medical papers.
What is ETA and do I need to print it?
ETA stands for Electronic Travel Authorization. It is the approval you receive by email after applying for an e-Visa. Yes, you must print it and carry it with you when traveling, as you will need to show it at the airport.
Can my visa application be rejected?
Yes, visa approval is not guaranteed. If there is any mistake in your form, missing documents, or incorrect information, your visa can be rejected. That is why it is important to double check everything before submitting.
Can I extend or change my visa after entering India?
In most cases, you cannot extend or change your visa type, especially tourist visas. For example, you cannot convert a tourist visa into a work visa after entering India. You must apply for the correct visa before traveling.
Do I need to give biometrics for the visa?
Yes, most applicants between the age of 12 and 70 must provide biometrics, which include fingerprints and a photo. This is usually done at the visa application center during the paper visa process.
Is it safe to book tickets before visa approval?
No, it is not recommended. You should always wait until your visa is approved before booking your flight tickets. This helps you avoid financial loss if there is any delay or rejection in your visa application.
Conclusion
Getting an India visa from Canada is easy if you follow the correct steps. First, choose the right visa type based on your purpose. Then fill the application carefully, upload clear documents, and ensure your passport is valid. Apply online for e-Visa or visit BLS for a paper visa. Wait for approval before booking tickets. Remember, visa approval is not guaranteed, and rules must be followed. If you stay careful and check everything, your process will be smooth and stress free.